Showing posts with label Accidentally Vegan. Show all posts

Sunday, September 4, 2011

Roast no-Beast


I have been promising to post this particularly long recipe for a while.  It is not hard but I do not make it very often because it takes five hours start to finish.  Now, four of those hours are completely inactive, but I know that kind of commitment to food just is not possible for most of us.  

That being said, this is so worth it and I do not buy store bought sandwich slices anymore.  This started out as Sham (replaces ham slices) and was developed into Roast no-Beast (replacing roast beef), and now it is sometimes Fakey (you guessed it, turkey) and Shicken (umm, I have kids don't judge the names, chicken).  This blog will be on the no-Beast variation but I will get the variations up when I get back from retreat -- so you guys will look forward to my return.  :)

I am a visual learner and this recipe has a lot of steps so I hope you like the pictures - so many pictures - included in this post.  

Ingredients:   
ground almonds - 5 tablespoons
smoked tofu - 7 ounces 
         (I have only been able to find this at Winco and the package is 7.14 ounces and I throw it all in)
No Beef base Bullion - 1 tablespoon
Soy sauce - 1 tablespoon
Kitchen Bouquet - 1 tablespoon
Liquid Smoke - 1 tablespoon
Tomato paste - 1 tablespoon
Ketchup - 1 tablespoon
Vegetable oil 3 tablespoons
Finely chopped onion - 1/4 cup
Brown sugar - 2 tablespoons
Nutritional yeast - 1 tablespoon
Minced garlic - 1 teaspoon
Black pepper - 3/4 teaspoon
Salt - 1/2 teaspoon
Vital wheat gluten - 1 cup plus 3 tablespoons
Red wine of your choice - at least 1 cup for deglazing with.
                                                                                                       

If you’re starting with whole almonds, grind them in the food processor first and set aside.


Crumble the tofu into the blender. 
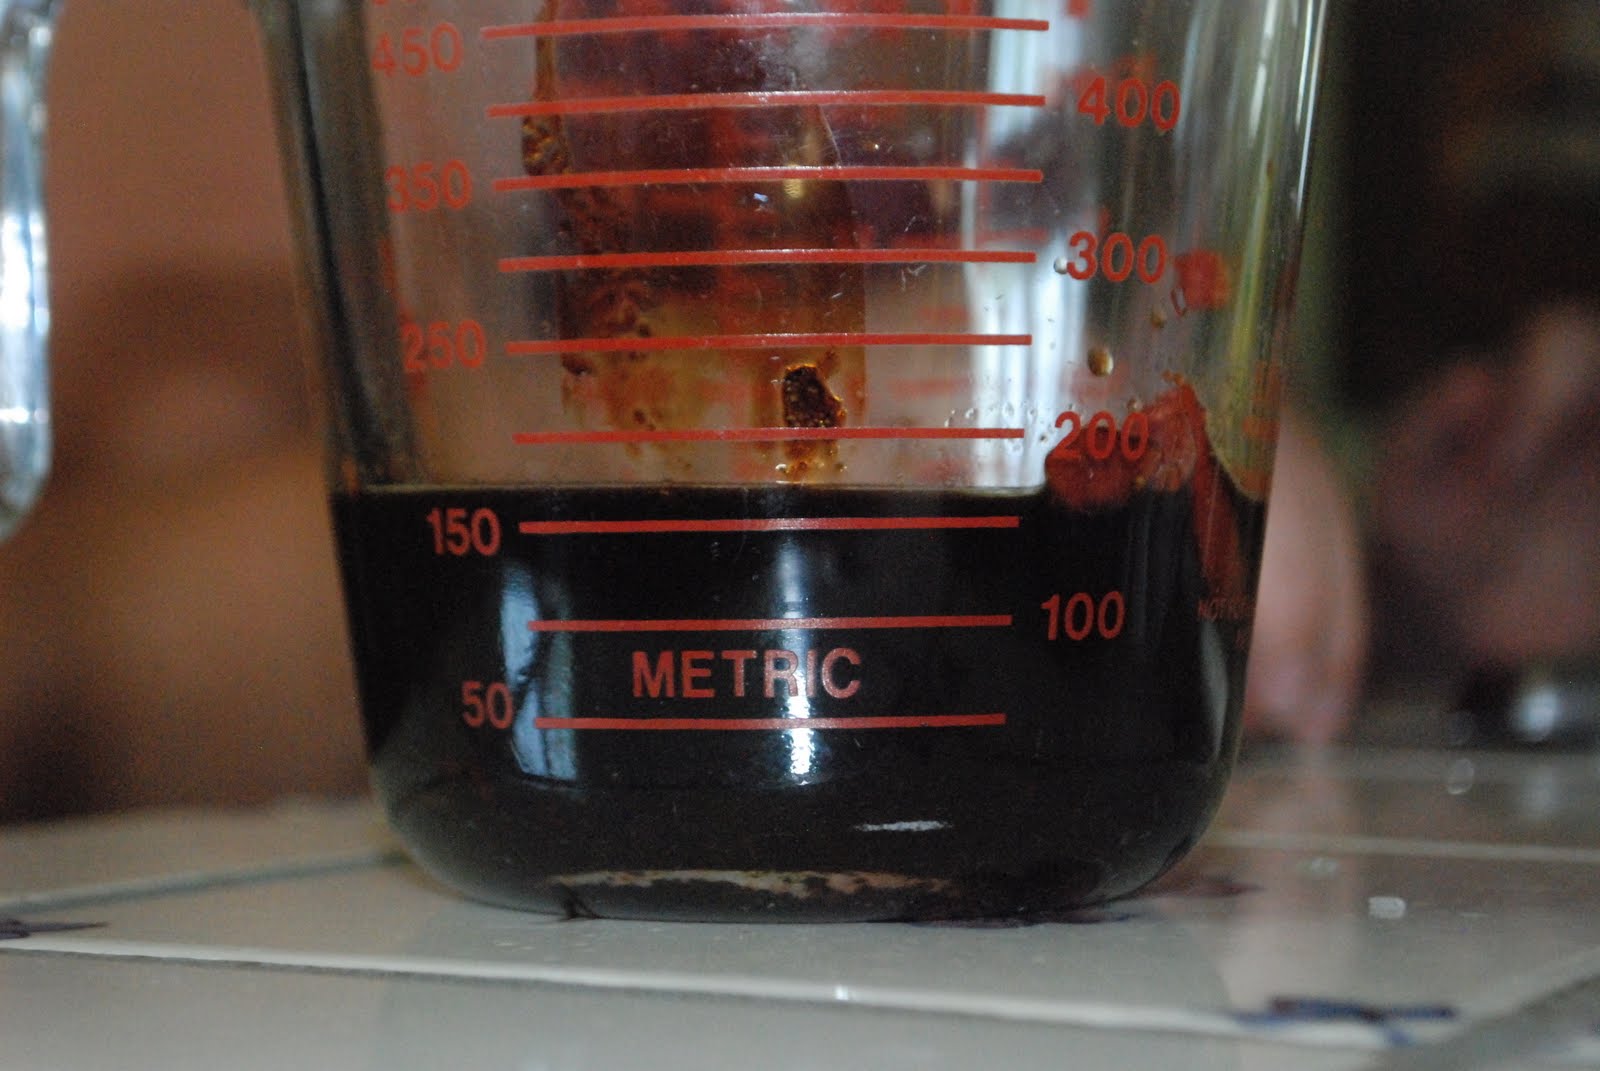
Put the bouillon in a glass measuring cup and add a couple tablespoons of very hot water to activate. Then add the soy sauce, Kitchen bouquet, liquid smoke, tomato paste, and ketchup to the measuring cup.  Top up to the 150 ml measure line on the glass with either your red wine of choice or water (this should only be a tablespoon or two total added liquid).

Add remaining ingredients to blender EXCEPT gluten and reserved wine. This means you are filling the blender with the veggie oil, onion, sugar, nooge, garlic, pepper and salt. :)  

Add this liquid mess to the blender, scraping out the glass with a rubber spatula if needed.

Blenderize until completely smooth. You now have the beginnings of a 'meat' shake.  :)
Empty into a large mixing bowl with the vital wheat gluten.

Stir the gluten and 'meat' shake together with your hands until evenly combined.
 
 You’ll have a soft dough. Do not over mix or knead the dough, I know it doesn't look like much now but with the magic of steam this will be your sandwich slices. 
Turn out onto a large sheet of plastic wrap and form into a log.


Wrap it up tight by rolling it down the sheet.  I do this twice, once the fat way and once the skinny way.


Then wrap it again in two to three layers of aluminium foil being careful to keep the seams from lining up. Essentially you want to keep all the magic steam from actually getting into your soon to be yummy sandwich filling. 

I mark the fat sides 1-4 with a sharpie to make the next step easier.
Bring water to boil in a pot that has a steamer insert. Steam for two hours over gently simmering water, turning roll a quarter turn every half hour (I start with the 1 facing up and keep track of turns by the numbers). 


Place in the steamer (don't be confused by the double loaf, I made two but these instructions are for a SINGLE loaf).
Check water level regularly to ensure the pot does not boil dry and add hot water as necessary.  Remember to turn the loaf every 30 minutes.  Turn heat off and let sit in the steamer to rest for two hours. 


  Carefully unwrap and slice. 


Voila!  You have sandwich slices.  These are ready to go as is, and with all the other variations you stop here, but for me, the roast needs a final step.

Take your slices and julianne them.

Get olive oil heating in a cast iron skillet (the cast iron really does give the best flavor results). 


Add the roast strips to the hot oil in the pan and sauté briefly.
Splash in some of that red wine to deglaze.


 Remove from heat after letting it saute just a bit more.
That gristly goodness you just created is now ready for some dense, nutty wheat bread and mustard, served with the cold beverage of your choice.  I recommend a cold cider myself.   

This recipe makes a large loaf about 1 to 1 1/2 pounds.  It keeps well in a sealed plastic container in the fridge for two weeks or so.  

Sunday, August 28, 2011

Wheat Thins at home

I didn't take pictures because I wasn't sure if this time I had it right.  I did!  But they were all gone before photos could happen.  When I get another batch made I will add a photo.  There is a version of this recipe out there on the web and I adapted from it.  These taste just like the big box version without all the fat and considerably less sodium (but seriously, don't skimp on the salt on top before they go in the oven unless you are a fan of sadness).  

*1 1/4 cups whole wheat flour
*1 1/2 tablespoons sugar
*1/2 teaspoon salt
*1/4 teaspoon paprika
*4 tablespoons earth balance
*1/2 cup plant milk
*1/4 teaspoon vanilla
*Additional salt for topping

1. Combine the flour, sugar, salt and paprika in a medium bowl. Cut the butter into small pieces and mix it in thoroughly with your mixer, (think pebbles).  Combine the milk and vanilla (I know, but trust me), and add to the flour mixture, mixing until well combined.  Gather into a dough ball by hand at this point.

2. Preheat the oven to 400 degrees F. Line baking sheets with parchment paper or silpat mats.

3. Using a pasta roller on the widest setting, slowly turn the dough through.  If you move too fast it will *not* go through in a big piece.  Take the sheets through again on the next smallest setting.  On my machine the first time through is set to 1, the second time is set to 2. Either leave 'rustic' or cut with a rolling blade (pizza or pasta cutter).  If you are hand rolling, work them as thin as you possibly can, avoid using flour during roll out as much as you can.  

4. Transfer the sheets to the baking sheets; you can crowd them together -- they don’t expand while baking. Sprinkle the sheets with salt. Repeat with the remaining pieces of dough. Save the scraps under plastic wrap and re-roll.

5. Bake the crackers until crisp and browned, 5 to 7 minutes. If some of the crackers brown too quickly, remove them and return the remaining crackers to the oven to finish baking. These crackers bake quickly, so watch them closely! Remove the crackers from the oven and cool on a rack; they cool quickly.  Store in airtight containers, assuming they last that long.  :)

Saturday, August 27, 2011

Crackers for crackers!

Cooling on the rack after a quick 15 min in the oven.  :)
We are testing four awesome cracker recipes this weekend.  None of these are mine but they are AWESOME!

First off is from 500 Vegan Recipes -- my favorite cookbook of all time!

Go to page 97 for this delectable cracker recipe!  It takes two minutes in the mixer and moments with the pasta roller to get perfect cracker dough.  We then just cut them with our little pasta cutter.  They aren't the dark orange you get from a box but they pack all the cheesy flavor of those pre-made store bought crackers.  I promise.

1 C Flour, 1/3 C Nooge, 1 tsp salt, 1/2 tsp pepper and 4 Tbs earth balance. 

After you add the 1/4 C soy milk just gather into a dense ball

I rolled this first batch by hand; second batch PASTA ROLLER!

Crackers after cutting with adorable animal cutters by the proud assistant.


Wednesday, August 17, 2011

Enchilada Casserole

Here is the totally animal free, sustainable version of my mother-in-law's delicious casserole.  If you have never had an enchilada casserole (or a sad version of one) you are really missing out.  Normally I avoid posting recipes that require a lot of pre-planning or prep work but I'm so very proud of this vegan version of a family favorite that I had to share.  This is not hard, but it does require forethought either in already having some stuff prepped in your freezer or making some of the ingredients earlier in the day. 

This is a very spicy dish so plan on making the Horchata* recipe to go with it and definitely have sour cream available for topping.


You will need:

25 to 30 small corn tortillas (please stick with the corn, flour tortillas are just not the same)
A double batch of Chorizo Seitan crumbles from 500 Vegan Recipes.
One recipe Nacho Cheezy Sauce
2 cans favorite enchilada sauce
2 cans corn
1 can black beans
3 tbsp favorite taco seasoning
oil for the pan
your favorite cold taco toppings for once it comes out of the oven.  We use: shredded lettuce, sour cream, chopped tomato, green onion, black olives and white onion.


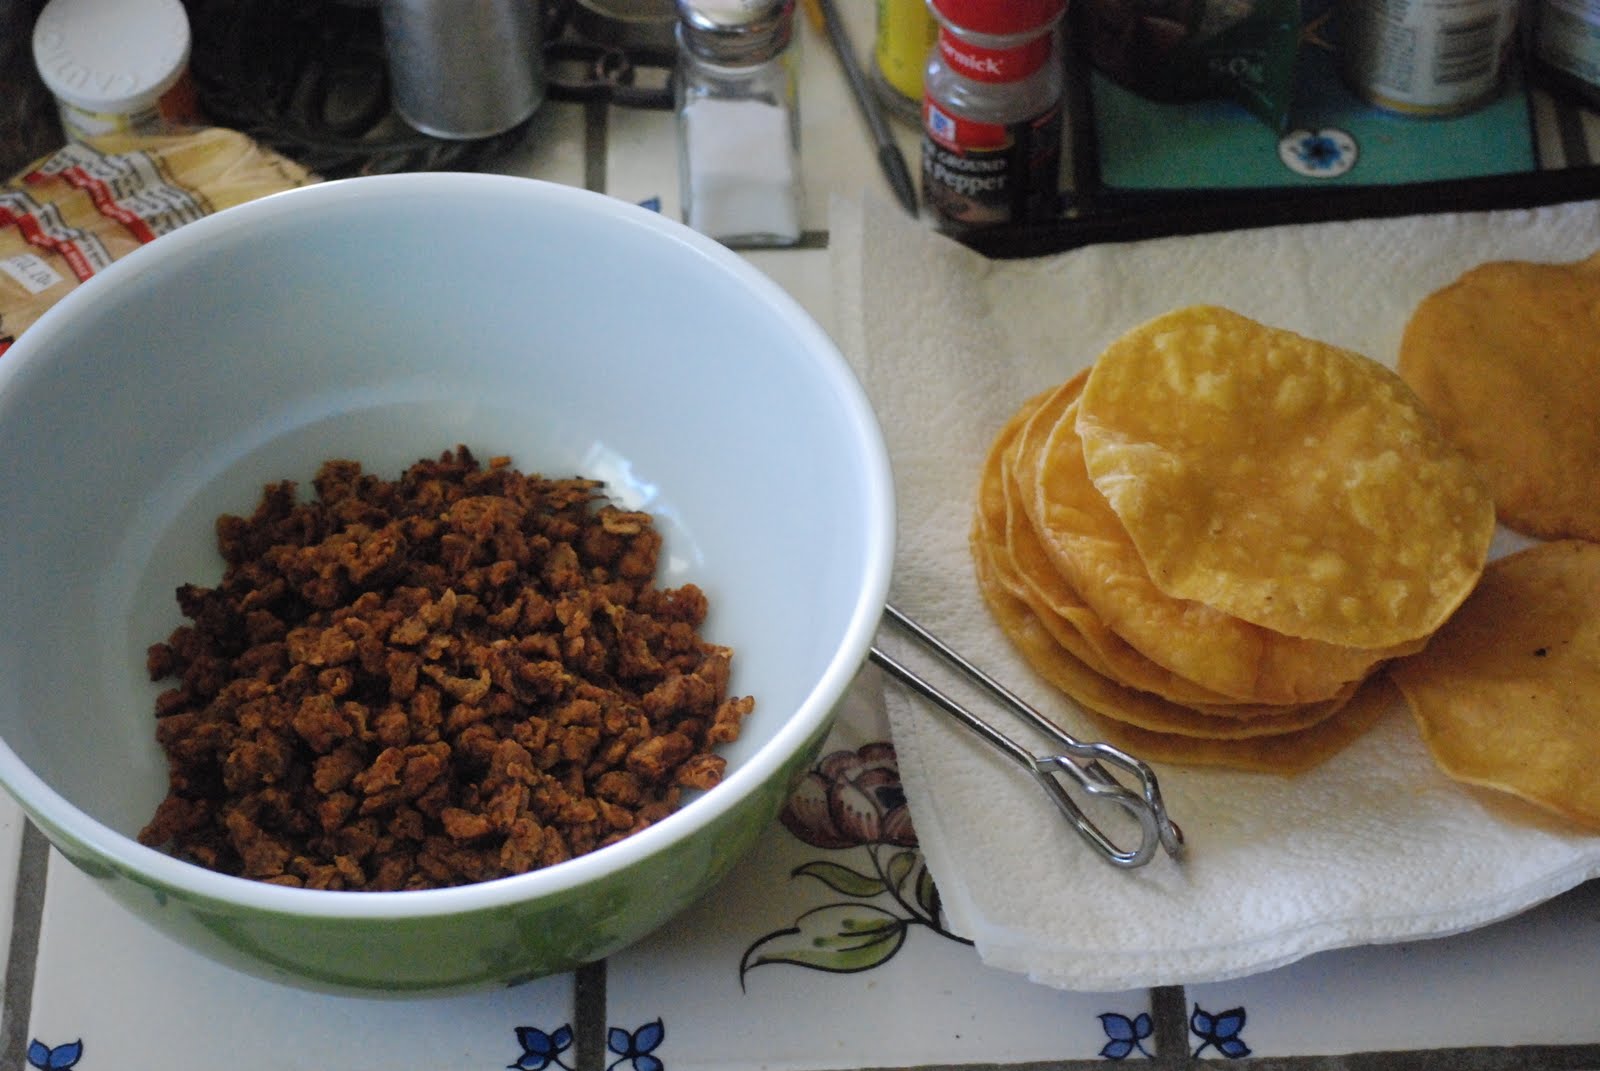
Step one is to fry up those corn tortillas on the stove so that they are nice and crunchy but not burnt.  Frying should be done carefully but over a high enough heat that your food cooks very quickly without absorbing the oil.  BE CAREFUL.  Drain them on a cookie sheet lined with several paper towels to absorb any excess oil.

Either prep up your Chorizo from scratch (which seriously is so fast, Steen and Newman are geniuses!) or defrost them out of the freezer completely before assembling your casserole.


Get your batch of Nacho Cheezy going on the stove so it's nice and hot or take it out of the fridge and warm up on the stove so it's easy to work with for assembly.  In the mean time open and drain most of the water off of the corn leaving some for in the pan.  Open up your black beans and rinse them in the can.  Add the corn and beans to a hot skillet with the taco seasoning of your choice.  Get them nice a roasted in the spices for several minutes.  They should end up looking like this:


Now it's time to assemble.  :)  Spray your casserole dish with some oil and then drizzle a bit of enchilada sauce in the bottom of the dish, swirling it around to coat the bottom.  Lay down your first layer of tortillas, then layer in some chorizo, corn & beans, more enchilada sauce and a layer of cheeze.  It'll look a bit like so (minus the cheeze layer which obscures the stuff under it):


Keep going until your dish is full!  We hold back a tiny bit of crumbles, corn and beans to make the top all pretty.


Cook at 350 for about 30 minutes.  Really you just want the center to be hot and the sauces bubbly.  Cut this as you choose and then top with all those wonderful cold toppings and enjoy with a big glass of Horchata!


*I will edit this post later with a link to the veggie version of Horchata recipe.  :)


Friday, August 5, 2011

Scones!

Hello again guys, sorry I'm not being very consistent on posting.  I keep vacillating between thinking there might be something for me to offer and the feeling that its all been done better somewhere else.  Then I mentioned on Facebook that I'd veganized a scone recipe and here we are.

Scones are super easy.  They are.  I know you have probably had some dry, hard coffee shop 'scone' that tells you differently, but they are easy, dense, sweet, flakey triangles of goodness.  As with most very old styles of food they are so easy we tend to mess them up by trying to make them 'perfect'.

Scones are not designed to be perfected, they are beautiful just as they are.

Chocolate Chip version


1 1/2 tsp Egg replacer
2 Tbsp water (Cold water gives better results)

2 1/2 C flour
1/3 C white sugar
4 tsp Baking Powder
1 tsp Salt
3/4 C non-dairy butter (Cold!)
1/2 C non-dairy milk (I prefer either soy from powder or unsweetened, unflavored almond milk)
1 C super yummy stir in 
(Semi-sweet chocolate chips, blue berries, huckleberries, raisins, 
currants, slivered almonds, broken hazelnuts, etc, 
avoid anything very big or syrupy.)  


Whip up your eggs till thick & frothy; set aside.


Cut the dry ingredients, (minus your stir in), together with the non-dairy butter with a pastry knife or sharp tined fork.  The butter should be COLD when you start.  You are only cutting them together until a 'pea gravel' consistency happens.  Do not over work this stage.  All the butter will be invisible in the mix but not to a super smooth consistency.


Stir in your yummy stir in now.


Add the milk and eggs, avoid over stirring so you don't activate the gluten in the flour (this is where tough, chewy scones are born).  Use a wooden spoon, stiff spatula or your hands to mix until *just* moistened.


Gather the dough into a ball. Regardless of mixing method this is where you use your hands.  Pull the dough ball together, if it is too dry and crumbly to hold add as much as two Tbsp extra milk.


Transfer the ball to a sheet of parchment paper or silpat mat.  Smoosh the ball down to a flattened round half an inch thick.  It should still be dry enough that the edges will be rough and crumbly.  Pat any strays into the round.  Carefully cut it into eight triangles.  Lay them out on another piece of parchment paper or scootch them apart on the silpat mat, and set it all on top of a baking sheet.  They don't really 'spread' so they only have to be a half inch apart so the sides cook.


Brush the tops lightly with milk and sprinkle with cinnamon and sugar.  Don't go crazy here.
Cook for 12 to 15 min in a hot oven set to 425.  The tops should be a light golden brown.  Do not over cook.  Light golden brown.  As with any pastry they finish cooking on the cooling rack.  Serve warm.  :)


I hope you all like these as much as we do!  As you experiment with different mix ins you may prefer adding cinnamon, ground cloves or nutmeg and other sweet spices to the dry mix. Never do more than a teaspoon worth of each or it over-whelms the simple, yet lovely, flavor of the scone.  If you want them sweeter or chocolatey add a tsp of liquid vanilla extract with the milk and eggs or a tablespoon of cocoa powder with the dry.

Sunday, May 22, 2011

Nacho Cheezy Sauce

I wanted to sit down and blog the vegan version of one of hubby's childhood favorites but realized that in order to do that I really needed to share the spicy nacho sauce first. I love this nacho sauce SO much!  My go-to lazy lunch is nachos (I know, *so* healthy) and this sauce is always on hand.  ;)

  • 1 double batch Cashew cream
  • 1 Cup nutritional yeast (sometimes more; I go by the look and taste)
  • 1 tsp Tumeric
  • 1 tsp Garlic powder
  • 1 tsp Mustard powder
  • about a table spoon Yellow mustard
  • splash of unsweetened plant milk to thin
  • Sriracha
  • Chili powder
  • Cayenne pepper
  • Cumin
  • grilled peppers and white onion (optional)
This is a super creamy and easy nacho sauce and, with an adjustment in the spices you add, is a good foundational cheese sauce for mac & cheese or cheezy broccoli or other cheezy saucy uses.  All lactose and cruelty free (and of course it fits the lazy and cheep categories too)!

Pour your cashew cream into a pot, stir in the nutritional yeast and add the measured spices (I add the splash of plant milk at the very end to thin the sauce out).  This is the basic sauce and from here you can vary it for all sorts of uses.    

Add in the spicy flavor now!  :)  I like quite a hot sauce so I'm heavy on the Sriracha and chili powder.  Cumin adds that something special to the taste for me but experiment with your own taste buds.  If I have them on hand I sweat and grill until just aromatic a selection of peppers with white onion, stir these in before the plant milk at the end.  Heat until the sauce is bubbly, it will get very thick, if you need to, add a splash of plant milk as you cook.  Depending on mood, how high the heat is etc, I will add more or less nooge. 

I hope you like this as much as I do! :)
  

Cashew Creme

For the uninitiated Cashew Creme is a blessing of nature!  I love this stuff and use it in soups, sauces and sometimes smoothies.  I realized that I've been referring to it without actually putting up a recipe so I decided I better put it up.  I was vegetarian for two full years before discovering the magic brought to us by the raw food movement.  Thank you raw foodies for this wonder.


  • 1 cup dry raw unsalted nuts soaked overnight
  • water to cover
Yup that's it.  


Rinse the nuts in cool, clear water and add to blender.  Cover with just enough clean water to cover the nuts in the blender.  Blenderized until smooth.  This takes just a moment or two in my vitamix but may take a few minutes in a lower power blender.  Refrigerates for somewhere in the neighborhood of a week (I've not tested this fully).  This makes more than it seems like it would, which is a blessing considering the cost of raw cashews.   

Friday, May 20, 2011

Cauliflower Soup

I've been trying to come up with a vegan version of the Wisconsin Cauliflower Soup at our local Zupa's and after many months of tasting and trying, I think I have it.

Feel free to half this recipe as it makes a ton!
  • Four heads cauliflower
  • Eight stalks celery
  • Twelve green onions
  • One medium white onion
  • Three carrots
  • One full Leek
  • Enough veggie broth to just cover veggies
  • One small batch Cashew creme (1 cup dry nuts soaked overnight, blenderized until smooth with just enough clean water to cover the nuts in the blender)
  • Toffutti sour creme 
  • celery salt, pepper, cumin, salt, garlic powder, and other favorite soup spices.
Clean and rough chop the cauliflower and set aside.  Clean and fine chop all other veggies.  With a few table spoons of olive oil, sweat the veggies until fully aromatic, and add seasonings to taste now. Add a few cups of broth to the pot and then pile in all the chopped cauliflower, cover with the rest of the broth.  Boil until cauliflower is soft enough to easily insert a fork but isn't mushy.  [This doesn't take as long as it would with potatoes, maybe half the time.]

Turn off the heat and allow to cool.  In a second larger pot have the cashew creme waiting.  Carefully ladle soup into a blender and blend it to smooth in batches.  Pour the blended soup into the waiting cashew creme pot.  Once all batches are added, stir and put it back on the heat.  Add about a cup of sour creme to the pot and stir.  Cashew creme dulls spices so re-taste and spice as needed.  Serve hot.  

This re-heats really well and goes great with sprouted wheat, sunflower bread.   Sorry we didn't get a good picture it went pretty fast.  :)

Sunday, May 15, 2011

Mom Parker's Banana Bread - Veganized!

Ingredients:
  • 2 C sifted flour 
  • 1 Tbsp Baking Soda
  • 1/2 Tbsp Salt
  • 1/3 C Earth Balance (I prefer the way the stick style works in the recipe)
  • 1 C Sucanat   
  • 2 Tbsp Egg replacer
  • 4 Tbsp Water
  • 1 C Mashed Banana (approx.  2 large Bananas, 'over ripe' or brown works best)
    • [By the way - sub in 1 C of pumpkin or zucchini and it is just as yummy happy in your tummy.] 
  • 1/2 C Almond Milk - plain unsweetened 
  • 1 Tbsp lemon juice

In medium bowl sift flour with soda and salt.  Set aside.  

Add lemon juice to your plant milk and set aside.  

In a large bowl cream Earth Balance and Sucanat together.  Mix Egg replacer with water and whip to a good thick consistency.  Add 'eggs' to creamed mixture with mashed banana.  Stir together thoroughly.  Set aside.

Add one third of the dry flour mixture to the wet sugars and mix well.  Add half of the sour milk to the main bowl and mix well.  Add the second one third dry to the main bowl and mix well.  Add the final half of the sour milk to the main bowl; mix well.  Add the final third of the dry to the bowl; mix well.  [In old quick bread recipes this process is called a three part/two part mix in, this is what they mean.]

Pour the wet batter into a well coated bread pan (I just rub a stick of cold Earth Balance all over it.)  Put the pan in a pre-heated 350 degree oven for 60-70 minutes.  Test the center for doneness with a toothpick.  

Enjoy your vegan quick bread!

Friday, December 10, 2010

Vegan Dumplings

As often happens when I browse the bulk section at Good Earth, I found a food I had to try but had no plan for.  My lovely guinea pigs - I mean children, put up with these experiments fairly well and they usually work out.  This time it was the TVP "chunklets" that caught my eye.  A winter favorite from seasons past is Chicken and Dumplings and I thought maybe these would work for a veggie version.

"chunklets"

This is one of those 'accidental vegan' recipes because as I've mentioned I'm in love with the Better Than Bullion vegan chicken and beef flavors and I use them a lot, and all the veggie versions of homemade soups and stuff are just becoming vegan as my pantry changes over time.  

Get out:
chicken bullion
veggie bullion
1/2 Cup diced carrots
1/2 Cup diced onion
2 tsp celery salt
1 tsp mustard powder
1 tsp garlic powder
1 pkg frozen peas
1 pkg frozen corn
two handfuls TVP chunklets

For the dumplings:
2 cups Bisquick
3/4 cup unflavored plant milk (I've been using Better than Milk from powdered for cooking)


I toss the baby carrots and onion chunks in the food processor and pulse away till it's diced and set aside while the hot water dissolves the bullion.  I did equal parts veggie broth and chicken broth for a deeper flavor.  Get 2 Tbsp oil heating in a big pot (pick one you have a lid for you'll need it).  Sauté the carrots and onion with the spices until you have a nice aromatic smell and pour in the broths.  Add salt and pepper to taste as the broth gets hot.  Once the broth is bubbling dump in your frozen veg (we also sometimes drop in brocolli, lima beans etc depending on mood and freezer stock just stick to dense small pieces for even cooking).  

Let that come up to a boil and mix your dumpling dough.  Add the milk to the mix and stir until just mixed it will be dense.  Since I had no idea how to do the TVP chunklets I decided to drop them in just before the dumplings.  Pinch off small sections of the dough and drop into the boiling liquid.  After all your dough is in turn down the heat to keep it from boiling over.  Let it go for 10 minutes uncovered and then pop on the lid for another 10.
  before lid     
 after cooked


The TVP cooked up great and may have been a bit too like chicken actually, but it kept in the fridge great and reheated well the next day for lunch.  :)